
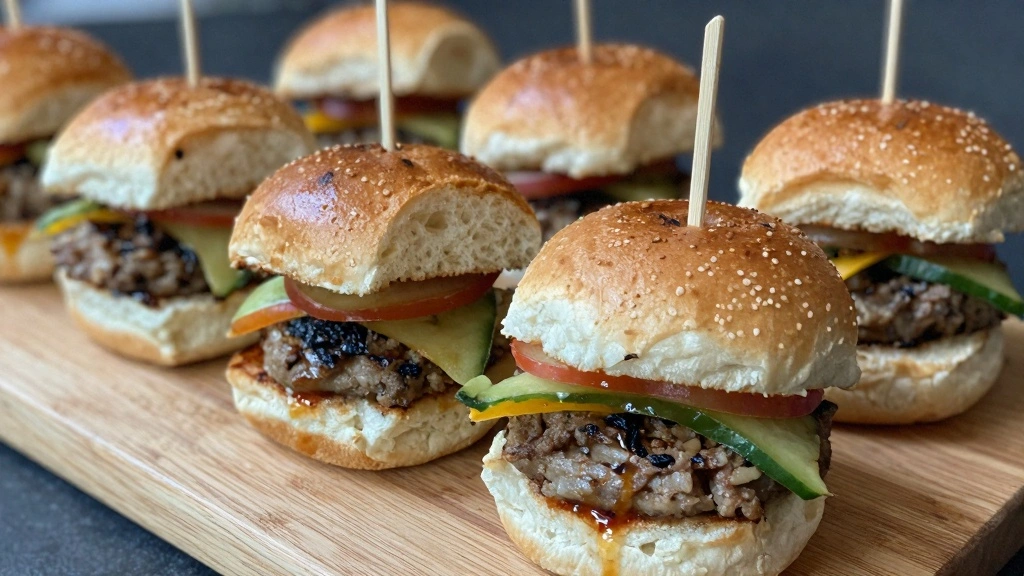
Game day is the perfect occasion to indulge in delicious, bite-sized treats that pack a punch of flavor.
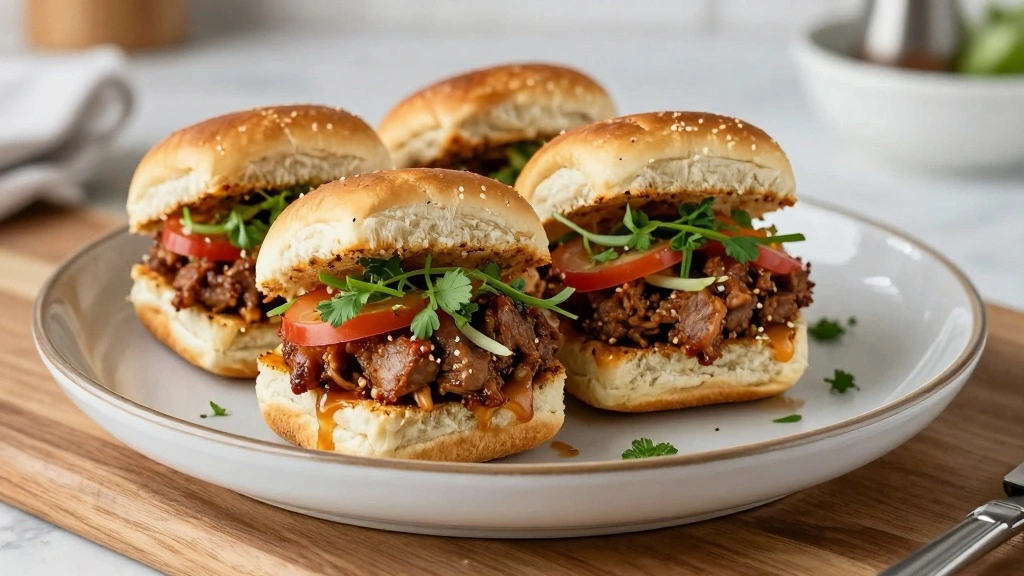
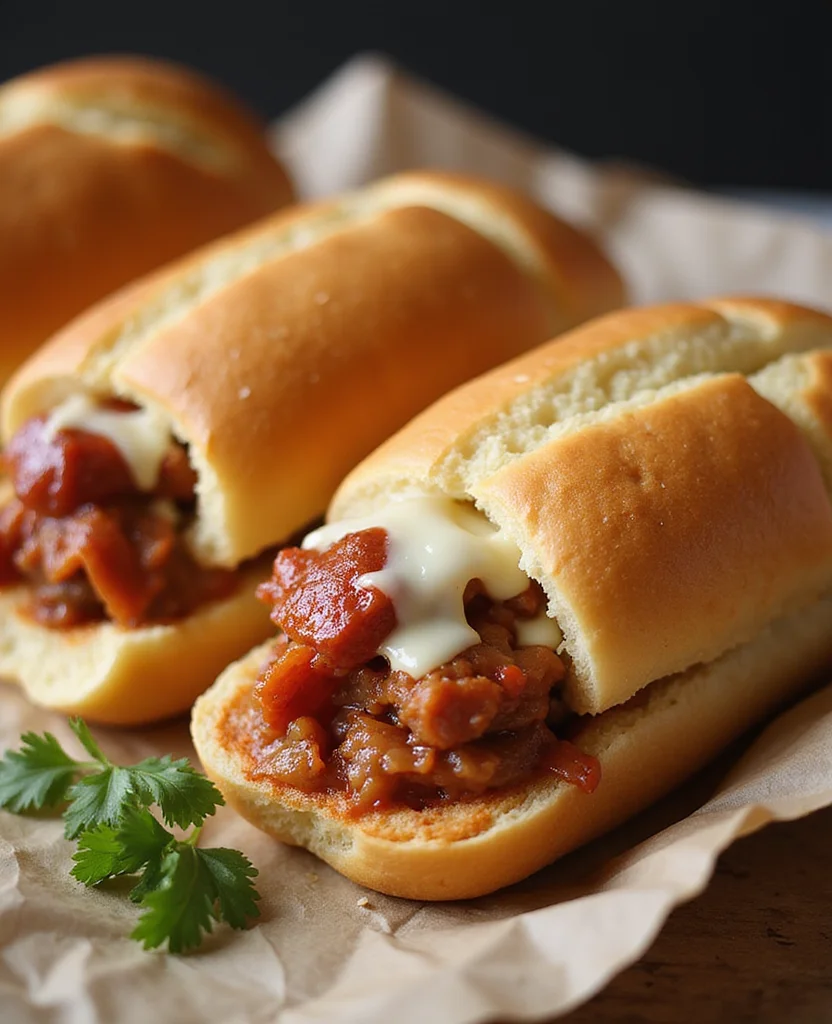
These Easy Hot Italian Sliders are a crowd-pleaser, delivering a satisfying blend of spicy, savory, and cheesy goodness.
The robust flavors of Italian seasonings combined with the melty cheese create an irresistible dish.
Whether you’re entertaining a group of friends or enjoying a cozy night in, these sliders make for a delightful appetizer.
With minimal prep and cook time, you’ll have more time to focus on the game and less on kitchen duties.
Get ready to score big with your guests as these sliders quickly become a fan favorite.
The History and Cultural Significance
• Hot Italian Sliders trace their origins to Italian-American communities, where they were originally created by Italian immigrants adapting traditional recipes.
• The dish evolved over decades as ingredients like spicy Italian sausages and various cheeses were incorporated, eventually becoming the beloved version we know today.
• In American culture, these sliders traditionally appear at game day gatherings and casual family events, symbolizing comfort and conviviality.
• While many variations exist across different regions, the authentic version maintains the use of spicy Italian meats and cheeses that set it apart from imitations.


Recipe Overview
Nutritional Information (per serving)
Essential Equipment Guide
Baking Sheet: A sturdy baking sheet is crucial for evenly baking the sliders, ensuring a crisp bottom and gooey top. Alternatives like a cast-iron skillet can work but may alter cooking time. Look for a sheet with a non-stick surface and proper heat distribution.
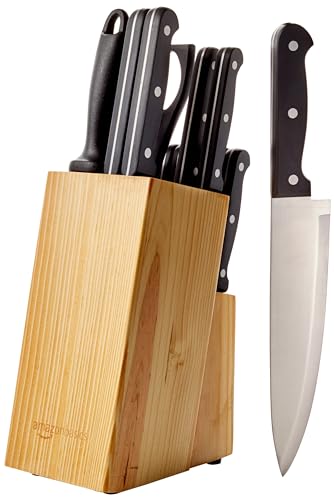
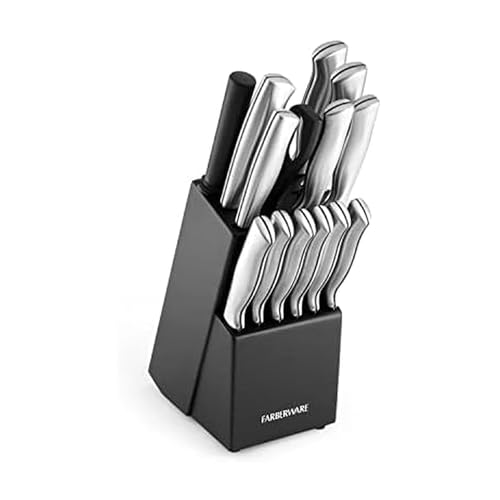
Sharp Knife: A sharp knife is essential for slicing the bread and ingredients cleanly, preventing squishing. Choose a knife with a comfortable grip and a high-carbon stainless steel blade for precision.
Mixing Bowls: Essential for combining ingredients like sauces and seasonings, mixing bowls should be durable and easy to clean. Opt for stainless steel or glass bowls that resist odors and stains.
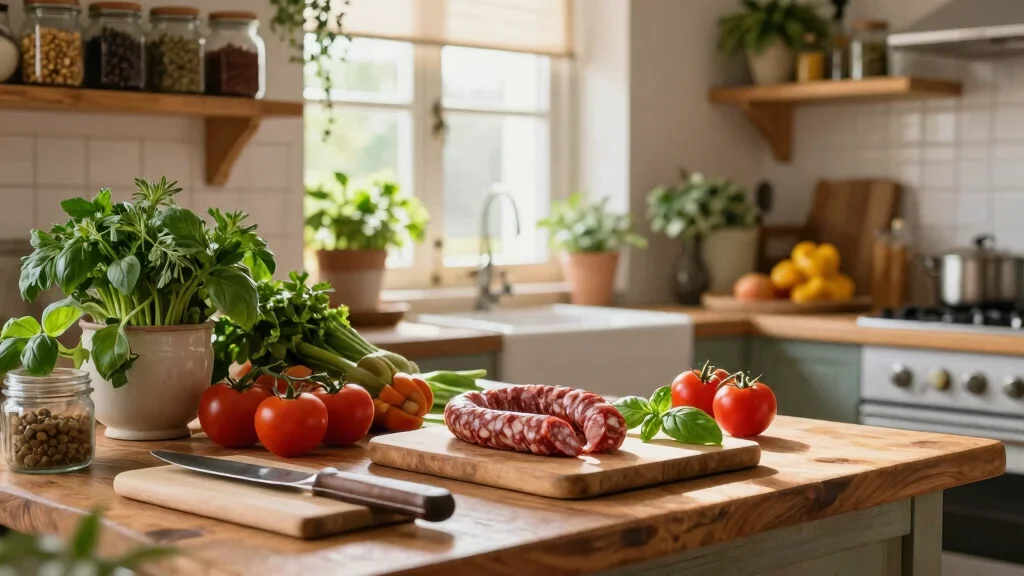
Ingredients
For the Sliders
|
| Amount | Ingredient | Notes |
|---|---|---|
| 12 pieces | slider buns | soft and slightly sweet |
| 1 pound | Italian sausage | cooked and crumbled |
| 1 cup | marinara sauce | for a rich tomato base |
| 2 cups | mozzarella cheese | shredded, for melting |
| 1 tablespoon | olive oil | for brushing |
Seasonings
| Amount | Ingredient | Notes |
|---|---|---|
| 1 teaspoon | Italian seasoning | for authentic flavor |
| 1 pinch | red pepper flakes | for heat |
| 1 teaspoon | garlic powder | for depth |
Preparation Methods
Pre-baking the Buns: This technique involves lightly toasting the slider buns before adding toppings to prevent sogginess. It ensures a crispy texture that holds up against the juicy fillings.
Layering Cheese: Layering cheese both beneath and on top of the fillings creates a gooey barrier that enhances flavor and prevents ingredients from sliding out.
Brushing with Oil: Brushing the tops of the buns with olive oil before baking gives them a golden, glossy finish and adds a subtle richness.


Step 1: Prepare Ingredients
Gather all ingredients and equipment before starting.
Preheat your oven to 350°F (175°C).
Cook the Italian sausage until brown and crumble it.
Slice the slider buns in half horizontally.


Step 2: Pre-bake the Buns

Place the bottom halves of the slider buns on a baking sheet.
Brush them lightly with olive oil.
Bake in the preheated oven for 5 minutes.
Ensure they are slightly crisp but not browned.


Step 3: Layer the Sauce and Cheese

Spread a layer of marinara sauce on each bun bottom.
Sprinkle half of the shredded mozzarella over the sauce.
Ensure even coverage to prevent sogginess.
Leave a small border to avoid overflow.
Step 4: Add the Sausage
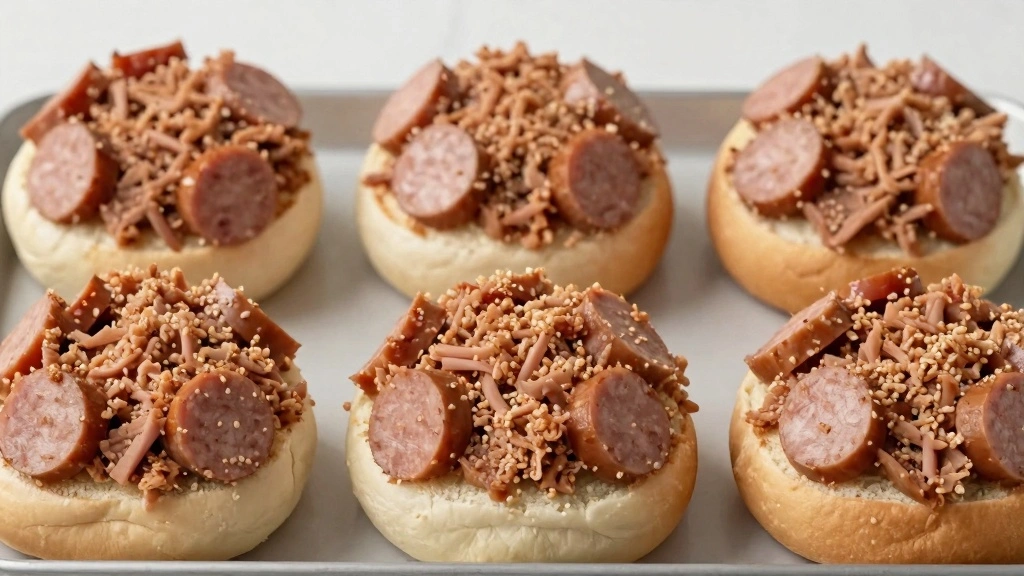
Evenly distribute the crumbled sausage over the cheese.
Press gently to ensure it adheres to the cheese.
Avoid overloading to maintain structural integrity.
Ensure even spacing for consistent flavor.
Step 5: Top with More Cheese

Sprinkle the remaining mozzarella over the sausage layer.
Ensure the cheese covers the fillings completely.
This will melt into a cohesive layer when baked.
Press lightly to secure the toppings.


Step 6: Season the Sliders
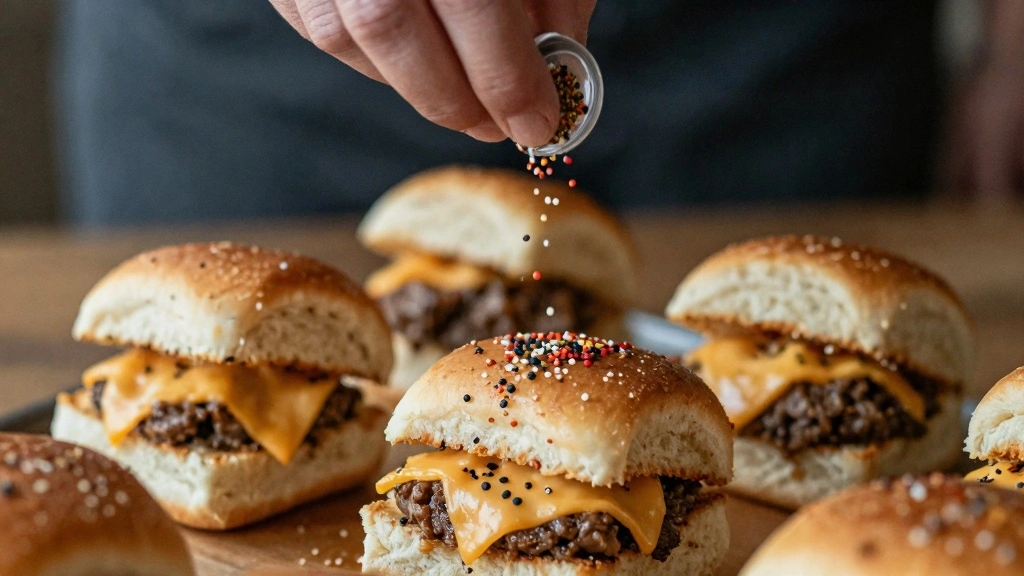
Sprinkle Italian seasoning over the top layer of cheese.
Add a pinch of red pepper flakes for heat.
Include garlic powder for depth of flavor.
Ensure even distribution of seasonings for balanced taste.
Step 7: Add the Bun Tops

Place the tops of the slider buns over the seasoned cheese layer.
Press down gently to create a cohesive unit.
Ensure the tops are aligned with the bottoms for even cooking.
This step seals in the flavors.
Step 8: Brush and Bake
Brush the tops of the buns with olive oil.
Return the sliders to the oven for 10-15 minutes.
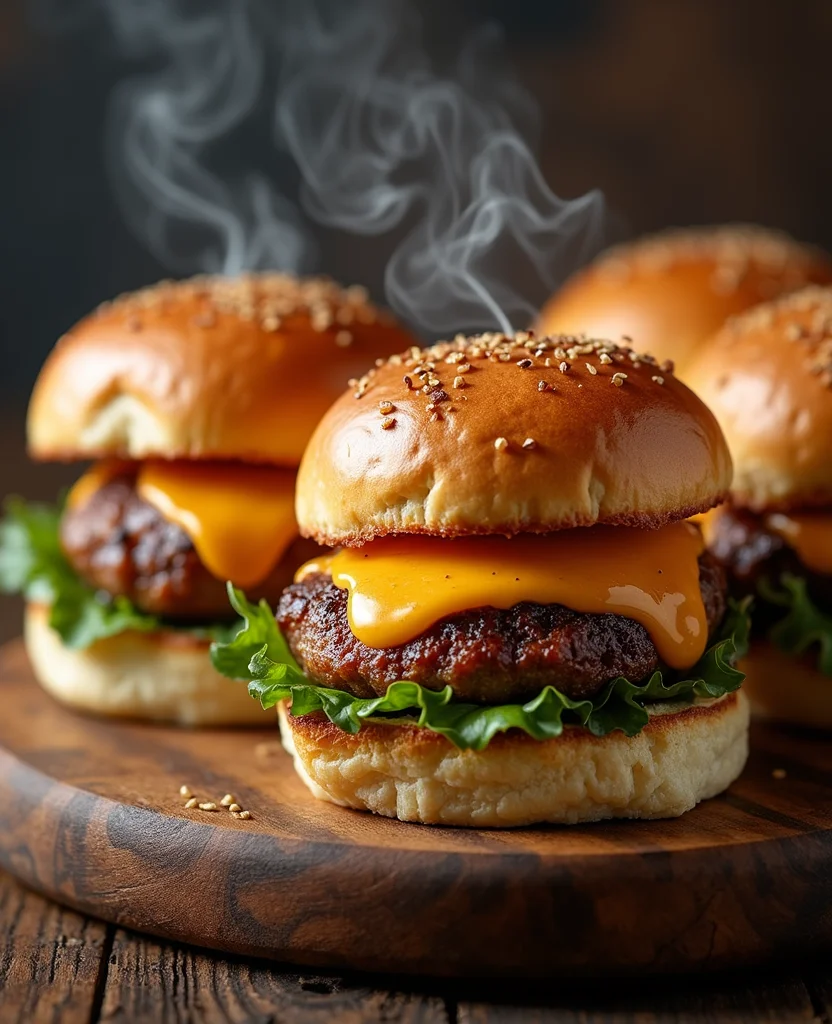
Bake until the cheese is melted and bubbly.
The tops should be golden brown and glossy.
Step 9: Cool and Serve

Remove sliders from the oven and allow them to cool slightly.
Use a sharp knife to cut them into individual sliders.
Serve warm, allowing flavors to meld.
Enjoy with your favorite game day beverages.
Critical Timing and Temperature Guide
Baking the Buns: Pre-bake at 350°F for 5 minutes. Look for a slight crispness but avoid browning. Common mistake: Over-baking leads to hard buns.
Baking the Sliders: Bake at 350°F for 10-15 minutes. Cheese should be melted and tops golden. Common mistake: Under-baking results in unevenly melted cheese.
Melting Cheese: Cheese should be melted and bubbly. Visual indicator: Cheese should not be burnt or overly browned. Common mistake: Over-melting can cause cheese to run off.
Pro Tips for Hot Italian Sliders
• Ingredient Selection: Choose high-quality Italian sausage and fresh mozzarella for the best flavor impact.
• Preparation Secret: Lightly toasting the buns before adding toppings prevents sogginess and adds texture.
• Temperature Management: Ensure ingredients are at room temperature for even cooking and melting.
• Texture Enhancement: Pressing down the sliders gently before baking helps them hold together better.
• Flavor Layering: Use a combination of fresh and dried herbs to create depth in flavor.
• Make-Ahead Strategies: Prepare the sausage and sauce a day in advance and store them separately in airtight containers.
• Restaurant-Quality Finishing Touches: A sprinkle of fresh basil or parsley before serving adds a fresh pop of color and flavor.
• Equipment Optimization: Use a heavy-duty baking sheet to ensure even heat distribution.


Troubleshooting Common Issues
• Sliders Too Soggy: Caused by too much sauce or not pre-baking buns. Recognize by wet bottoms. Fix by reducing sauce or pre-baking buns longer.
• Cheese Not Melting: Caused by low heat or overcooked buns. Recognize by solid cheese. Fix by increasing oven temperature or using a broiler briefly.
• Flavors Unbalanced: Caused by uneven seasoning. Recognize by lack of flavor depth. Fix by adding herbs or adjusting salt levels.
• Burnt Tops: Caused by too high oven temperature. Recognize by overly dark tops. Fix by lowering temperature or covering with foil midway.
• Uneven Cooking: Caused by improperly aligned buns. Recognize by unevenly cooked sliders. Fix by ensuring even spacing and alignment on the baking sheet.
Variations and Regional Differences
• New York Style: Features pepperoni and provolone cheese, focusing on a classic Italian-American flavor profile.
• Southern Twist: Incorporates pimento cheese and hot peppers, adding a spicy, creamy kick.
• California Fresh: Uses turkey sausage and avocado for a lighter, health-conscious version.
• Chicago Deep Dish: Inspired by deep-dish pizza, with thicker bread and extra marinara, emphasizing heartiness.
Food Science Behind the Recipe
• Maillard Reaction: This process gives the slider buns their golden-brown color and enhances flavor through sugar and protein interactions.
• Cheese Melting: Understanding the melting point of mozzarella helps achieve the perfect gooey texture without overcooking.
• Heat Transfer: Effective heat transfer in the oven ensures even cooking and prevents sogginess by promoting moisture evaporation.
Frequently Asked Questions
What's the most common mistake people make when preparing Hot Italian Sliders? Overloading the buns with sauce or fillings, leading to sogginess.
Can I use a different type of cheese? Yes, provolone or cheddar can be used for different flavor profiles.
How do I store leftover sliders? Wrap them in foil and refrigerate for up to 2 days. Reheat in the oven for best results.
Can these sliders be made vegetarian? Absolutely, substitute with plant-based sausage or mushrooms.
What's the best way to reheat these sliders? Reheat in the oven at 350°F for 10 minutes to regain crispness.
Can I freeze the sliders? Yes, freeze before baking, and add 5 minutes to the baking time.
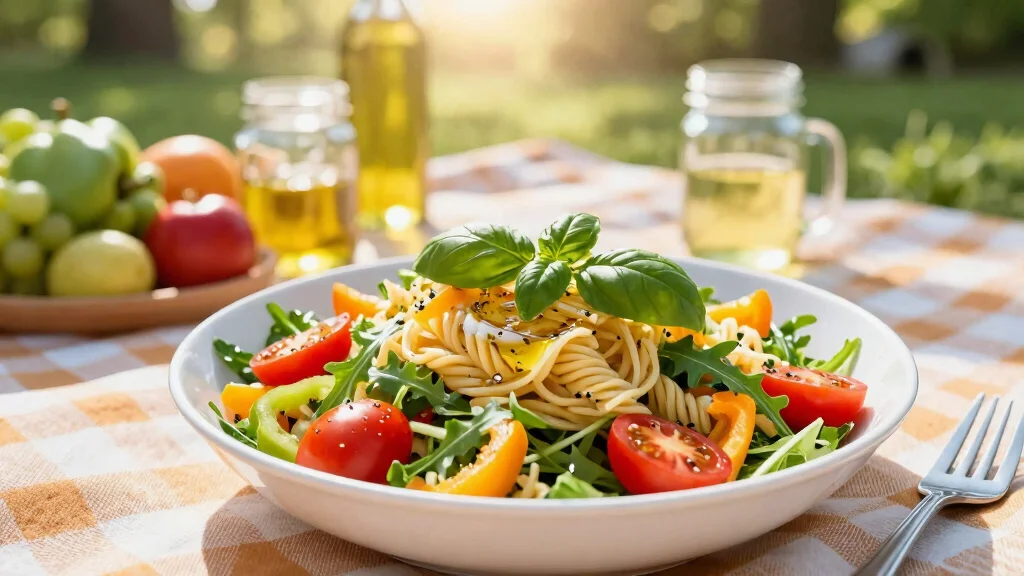
What side dishes pair well with these sliders? A fresh green salad or roasted vegetables complement the richness well.
How do I prevent the cheese from sticking to the foil? Spray the foil with non-stick spray or use parchment paper instead.
Serving and Presentation Guide
• Traditional Presentation: Serve sliders on a large platter with fresh basil leaves scattered for garnish.
• Casual Gathering: Arrange sliders in a basket lined with a red-and-white checkered cloth for a picnic vibe.
• Elegant Appetizer: Present each slider on a small plate with a toothpick topped with cherry tomato and olive.
• Family Style: Place sliders in a warm dish on the table for easy self-service.


Conclusion
These Easy Hot Italian Sliders are sure to become a staple at your next game day gathering.
Their bold flavors and gooey texture make them irresistible to all ages.
With minimal effort and maximum flavor, this recipe is a game-changer for any occasion.
Try them out and watch as they disappear from the tray in no time.