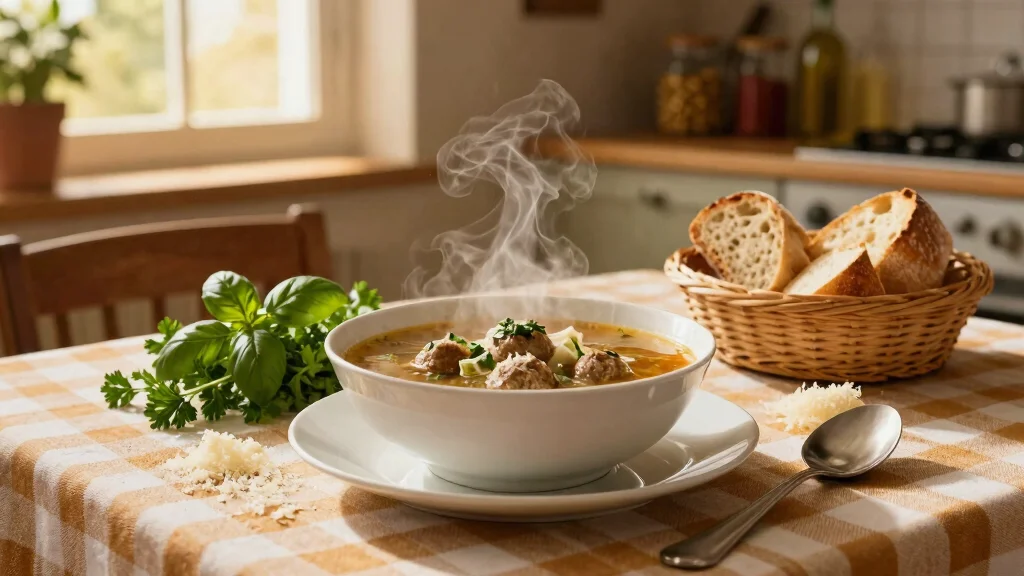

This classic Homemade Italian Pizza Dough Recipe brings together centuries of culinary tradition with modern techniques to create a dish that’s both comforting and elegant.
The harmonious balance of chewy and crisp texture creates a memorable dining experience that will have everyone asking for your secret.
I discovered this recipe during my travels through Naples, where local chefs have perfected it through generations of careful refinement.
Whether you’re preparing a casual family dinner or hosting a special celebration, this pizza dough delivers impressive results with straightforward preparation.
The History and Cultural Significance
• Italian Pizza Dough traces its origins to Naples in the 18th century, where it was originally created by local bakers.
• The dish evolved over decades as tomatoes were added to the dough base, eventually becoming the beloved version we know today.
• In Italian culture, this dish traditionally appears at family gatherings and celebrations, symbolizing unity and tradition.
• While many variations exist across different regions, the authentic version maintains a thin, chewy crust that sets it apart from imitations.


Recipe Overview
Nutritional Information (per serving)
Essential Equipment Guide
Pizza Stone: A pizza stone is crucial for achieving the crispy crust associated with authentic Italian pizza. It absorbs moisture and evenly distributes heat, mimicking a traditional brick oven. Alternatives include a baking steel or an overturned baking sheet. Look for stones that are at least 1/2 inch thick for best results.
Mixing Bowl: A large mixing bowl is essential for combining ingredients and allowing the dough to rise. Stainless steel or glass bowls are preferred as they retain heat well. Ensure the bowl is large enough to accommodate the dough as it doubles in size.
Rolling Pin: While not always necessary for traditional Italian pizza, a rolling pin can help achieve uniform thickness. Wooden rolling pins are ideal for their weight and balance. Alternatively, a wine bottle can be used in a pinch.


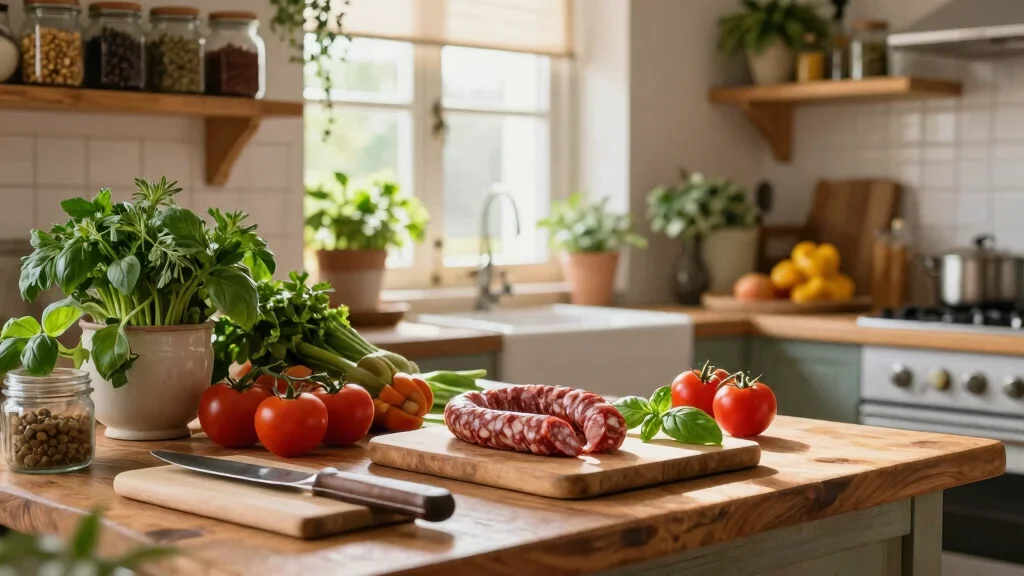
Ingredients
For the Base
|
| Amount | Ingredient | Notes |
|---|---|---|
| 2 cups | all-purpose flour | sifted for light texture |
| 1 teaspoon | salt | enhances flavor |
| 1 teaspoon | active dry yeast | for leavening |
| 1 tablespoon | olive oil | adds richness |
| 3/4 cup | warm water | activates yeast |
Preparation Methods
Kneading the Dough: Kneading develops gluten, which gives pizza dough its structure and chewiness. To knead, press the dough with the heel of your hand, fold it, and turn it. Repeat this process, adding flour as necessary, until the dough is smooth and elastic.
Proofing the Dough: Allowing the dough to rise, or proof, is essential for flavor development and texture. After kneading, place the dough in a warm, draft-free area, covered with a damp cloth. The dough should double in size, which can take about 1-2 hours.
Shaping the Dough: Shaping the dough requires gentle handling to retain air pockets. Stretch the dough from the center outward, using your knuckles and fingertips. Avoid using too much force to maintain the delicate texture.


Step 1: Prepare Ingredients
Measure out all ingredients to ensure accuracy.
Sift the flour into a large mixing bowl to remove lumps and aerate.
Gather salt, yeast, olive oil, and water nearby for easy access.
Having everything ready speeds up the process and reduces stress.


Step 2: Activate Yeast
Combine warm water and yeast in a small bowl.
Stir gently until the yeast dissolves completely.
Let the mixture stand for 5 minutes until it becomes frothy.
This step ensures the yeast is active and will help the dough rise.
Step 3: Mix Dry Ingredients
Add sifted flour and salt to a large mixing bowl.
Stir together with a wooden spoon until combined.
Make a well in the center of the flour mixture.
This creates space for the wet ingredients and evenly distributes salt.
Step 4: Combine Wet and Dry Ingredients
Pour the yeast mixture and olive oil into the flour well.
Stir slowly, bringing the flour mixture into the liquid.
Continue mixing until a rough dough forms.
This step evenly incorporates all ingredients, forming the dough base.
Step 5: Knead the Dough

Transfer the dough to a floured surface.
Knead the dough for 10 minutes until smooth and elastic.
Add flour as needed to prevent sticking.
Proper kneading develops gluten, creating a chewy texture.
Step 6: Proof the Dough
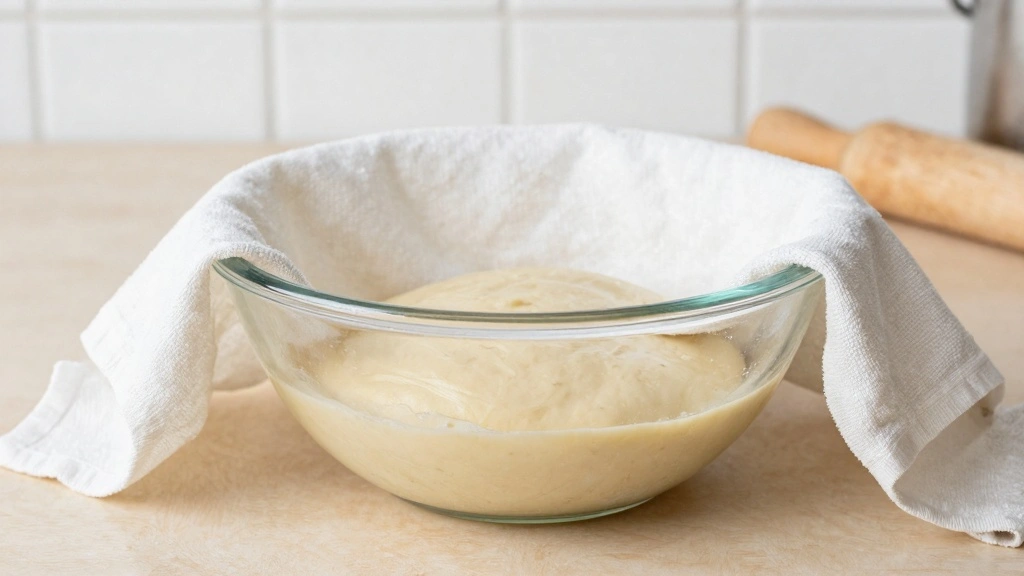
Place the kneaded dough in a greased bowl.
Cover with a damp cloth or plastic wrap.
Let it rise in a warm place for 1-2 hours until doubled in size.
This step develops flavor and makes the dough airy.
Step 7: Preheat Oven and Shape Dough
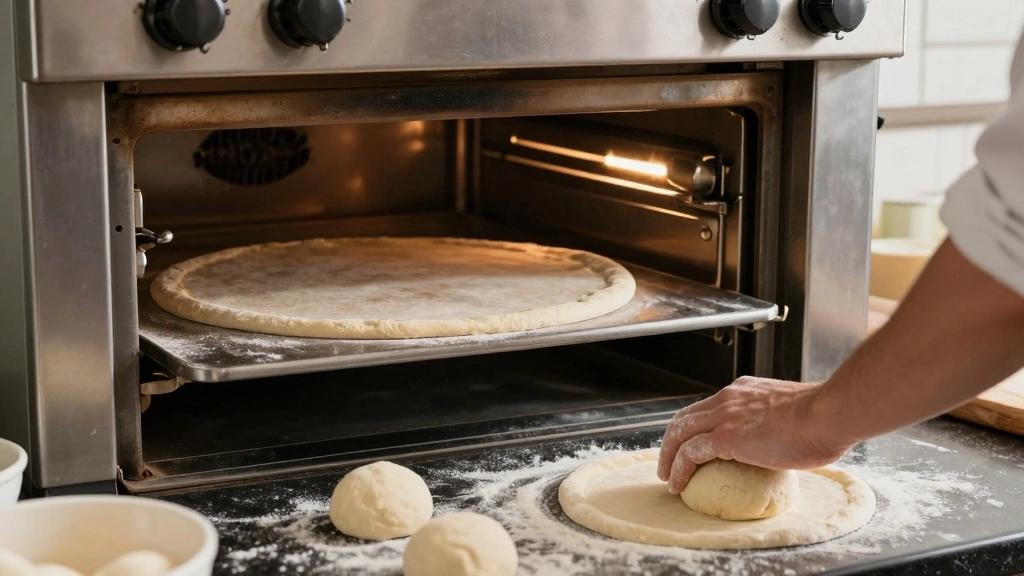
Preheat the oven to 475°F (245°C) with a pizza stone inside.
Punch down the risen dough to release air.
Divide and shape the dough into rounds on a floured surface.
Preheating ensures the stone is hot enough for a crispy crust.


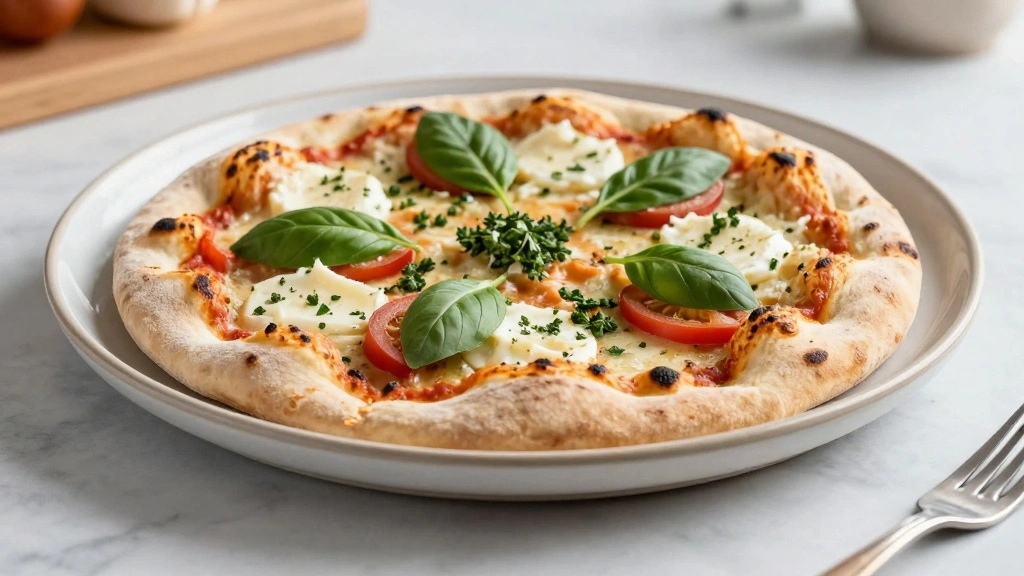
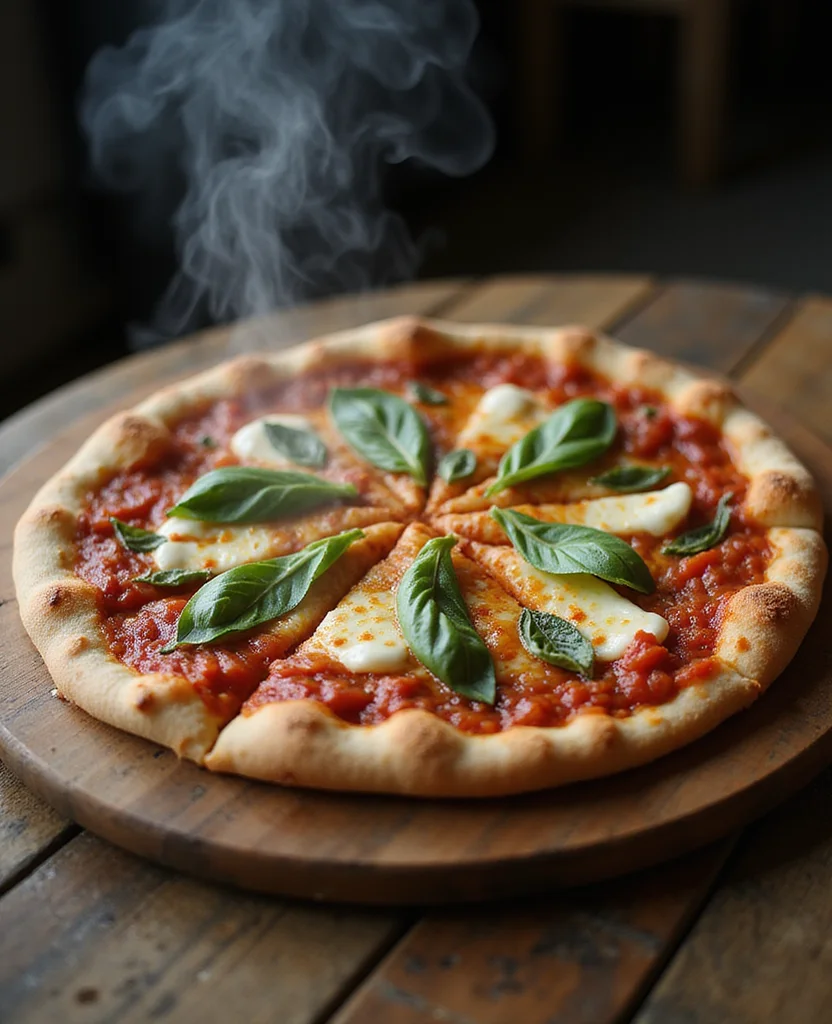
Step 8: Add Toppings and Bake
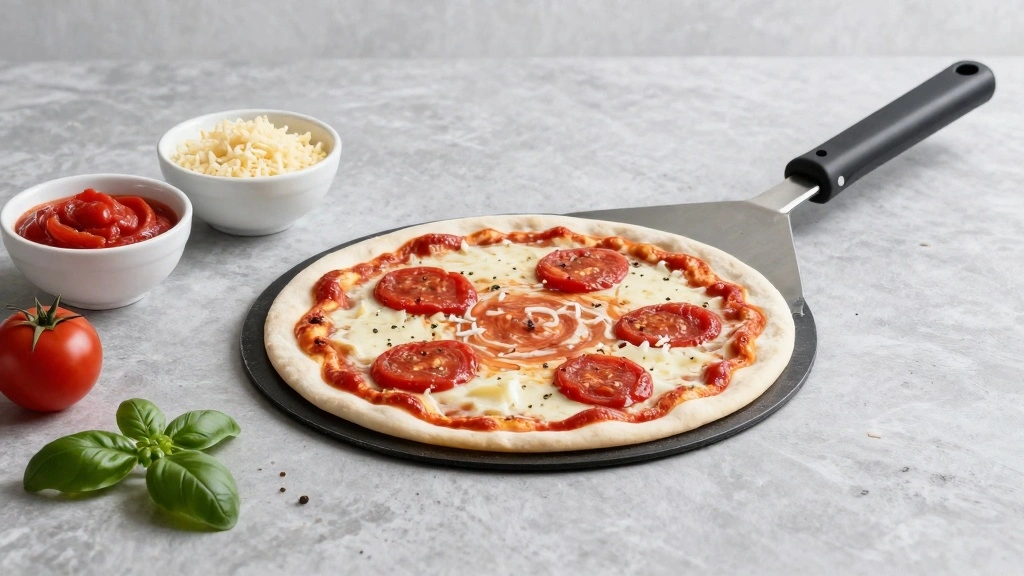
Transfer the shaped dough to a pizza peel dusted with cornmeal.
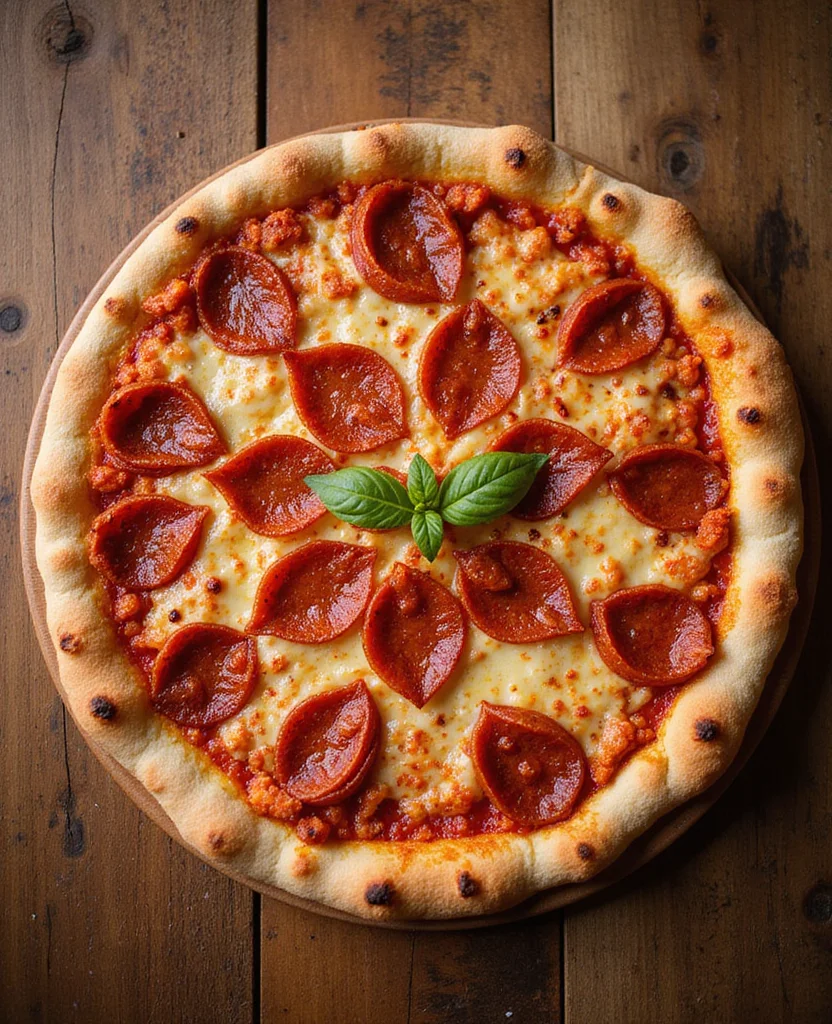
Spread sauce and desired toppings evenly over the dough.
Slide the pizza onto the hot stone and bake for 8-10 minutes.
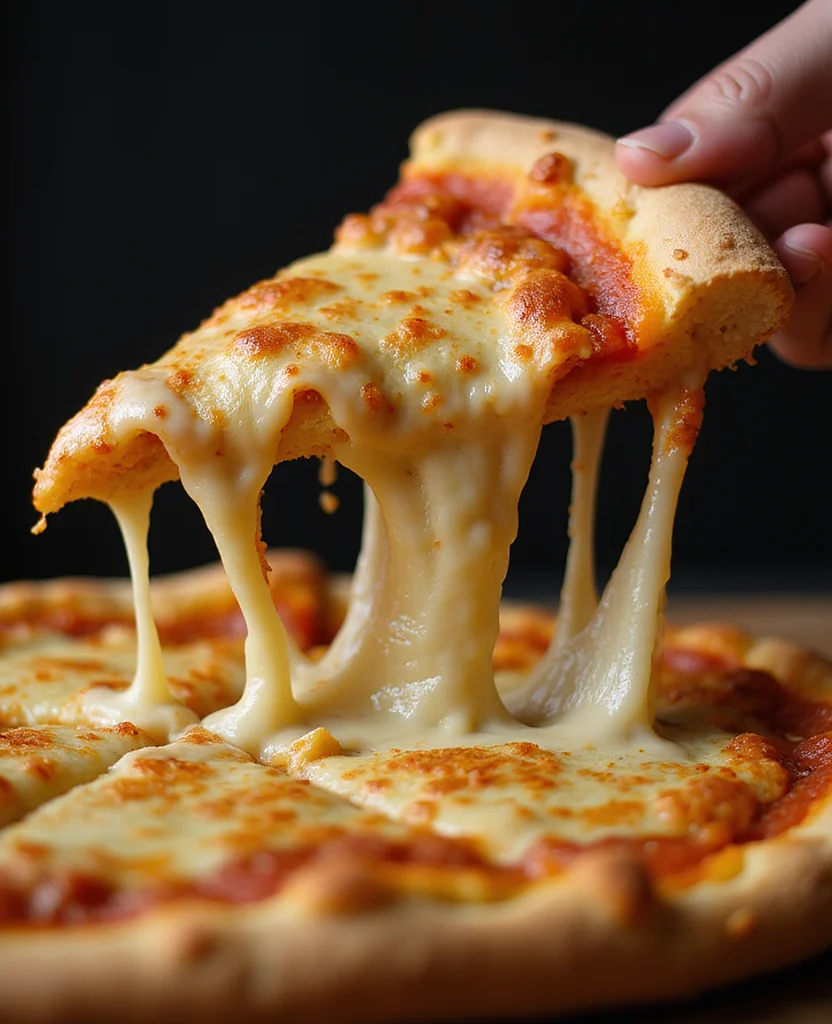
Bake until the crust is golden and cheese is bubbly.
Critical Timing and Temperature Guide
Kneading: Knead the dough for exactly 10 minutes, looking for a smooth, elastic texture. Avoid over-kneading, which can make the dough tough.
Proofing: Allow the dough to rise for 1-2 hours in a draft-free environment at about 75°F (24°C). The dough should double in size and be soft to the touch.
Baking: Preheat the oven to 475°F (245°C) and bake the pizza for 8-10 minutes. The crust should be golden brown and the cheese should be bubbling and slightly browned.
Pro Tips for Italian Pizza Dough
• Ingredient Selection: Choose high-quality flour, such as Caputo 00, for the best texture and flavor.
• Preparation Secret: For better texture, allow the dough to rest in the fridge overnight.
• Temperature Management: Use room temperature ingredients to ensure even mixing and dough rise.
• Texture Enhancement: Incorporate a small amount of semolina flour for added crispness.
• Flavor Layering: Add a pinch of sugar to the dough to enhance yeast activity and flavor.
• Make-Ahead Strategies: Prepare dough up to 3 days in advance and store in the fridge.
• Restaurant-Quality Finishing Touches: Brush the crust with garlic-infused olive oil before baking.
• Equipment Optimization: Preheat the pizza stone for at least 30 minutes for optimum heat retention.
Troubleshooting Common Issues
• Texture Too Dense: Caused by insufficient kneading or over-kneading. Ensure the dough is kneaded for exactly 10 minutes and is smooth and elastic.
• Flavors Unbalanced: Occurs when salt or yeast measurements are off. Measure ingredients accurately and taste the dough before final proofing.
• Dough Not Rising: May result from inactive yeast or cold temperatures. Use fresh yeast and allow the dough to rise in a warm place.
• Crust Too Soft: Often due to under-baking. Ensure the oven is fully preheated and bake until the crust is golden and crisp.
• Dough Sticking to Surface: Happens if there's not enough flour on the work surface. Dust the surface and your hands liberally with flour.
• Toppings Sliding Off: Caused by too much sauce or uneven topping distribution. Use a thin layer of sauce and spread toppings evenly.
Variations and Regional Differences
• Neapolitan Style: Uses 00 flour and a higher hydration dough for a softer, chewier crust, typically baked in a wood-fired oven.
• Sicilian Style: Features a thicker, focaccia-like crust with a rectangular shape, often topped with anchovies and onions.
• Roman Style: Known for its thin, crisp crust, Roman pizza dough often includes olive oil for additional flavor and crunch.
• Calabrese Style: Incorporates spicy salami and chili peppers for a bold, spicy flavor profile unique to the Calabria region.


Food Science Behind the Recipe
• Gluten Development: Kneading the dough develops gluten, which provides structure and elasticity. Understanding this helps achieve the desired chewiness.
• Fermentation: Yeast fermentation produces carbon dioxide, causing the dough to rise and develop flavor. Proper fermentation is key to a light, airy crust.
• Maillard Reaction: The browning of the crust during baking is due to the Maillard reaction, enhancing flavor and creating a golden color.
• Hydration Levels: The water-to-flour ratio affects the dough's texture and handling properties. Higher hydration yields a softer dough, while lower hydration results in a firmer crust.
Frequently Asked Questions
What's the most common mistake people make when preparing pizza dough? The most common mistake is not allowing the dough to rise sufficiently, leading to a dense crust.
Can I freeze pizza dough? Yes, you can freeze the dough after the first rise. Wrap it tightly in plastic wrap and store in a freezer bag.
How do I know if my yeast is still active? If the yeast doesn't bubble and froth after 5-10 minutes in warm water, it may be inactive.
What type of flour is best for pizza dough? Caputo 00 flour is the preferred choice for its fine texture and high gluten content.
How can I make my crust extra crispy? Use a pizza stone and preheat it for at least 30 minutes before baking.
Is it necessary to use a pizza stone? While not essential, a pizza stone greatly enhances crust texture by evenly distributing heat.
Can I make the dough without a stand mixer? Absolutely, the dough can be mixed and kneaded by hand, though it requires more effort.
Serving and Presentation Guide
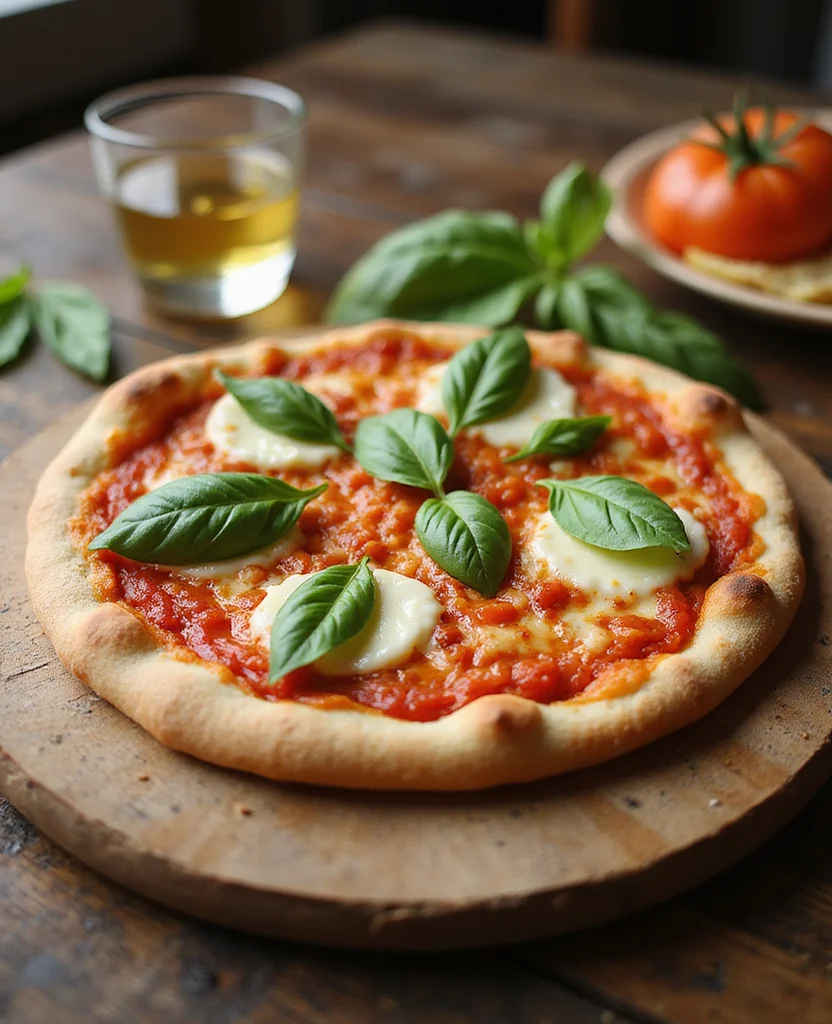
• Traditional Presentation: Serve the pizza on a wooden board, garnished with fresh basil and a drizzle of high-quality olive oil.
• Casual Gathering: Slice the pizza into squares for easy sharing at casual get-togethers.
• Elegant Dinner: Pair with a side salad and present with a sprinkle of grated parmesan for a more refined setting.
• Family Style: Serve whole with a pizza cutter, allowing each person to cut their preferred slice size.


Conclusion

With this easy and authentic Homemade Italian Pizza Dough Recipe, you'll bring a touch of Italy into your kitchen.
The delightful blend of textures and flavors is sure to impress your family and friends.
Don't hesitate to experiment with your favorite toppings to make this classic recipe uniquely yours.