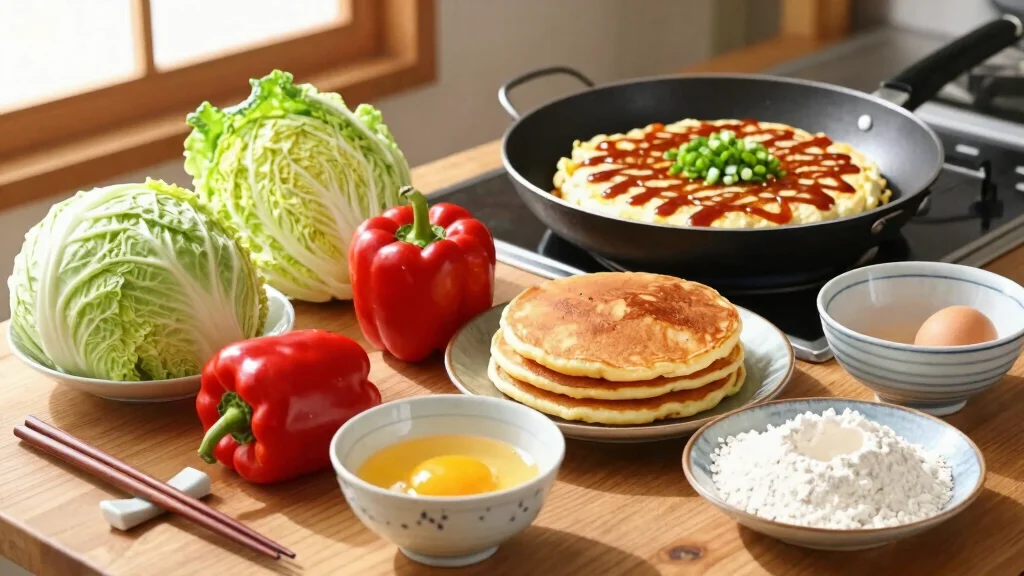

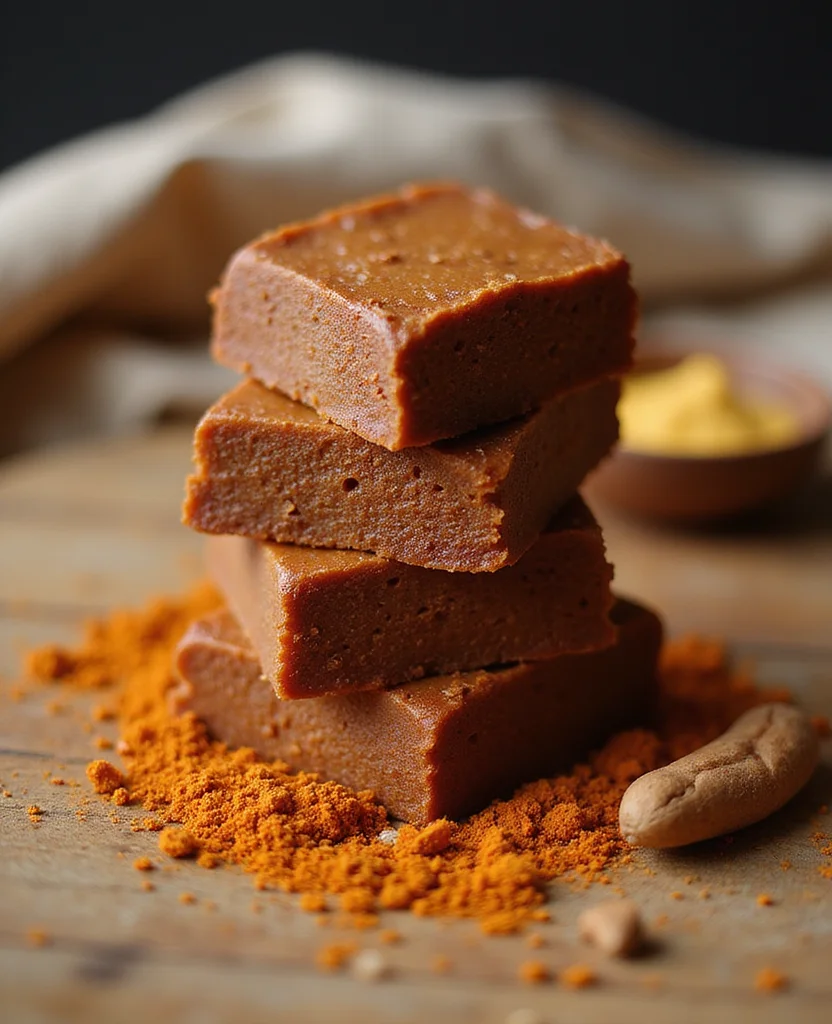
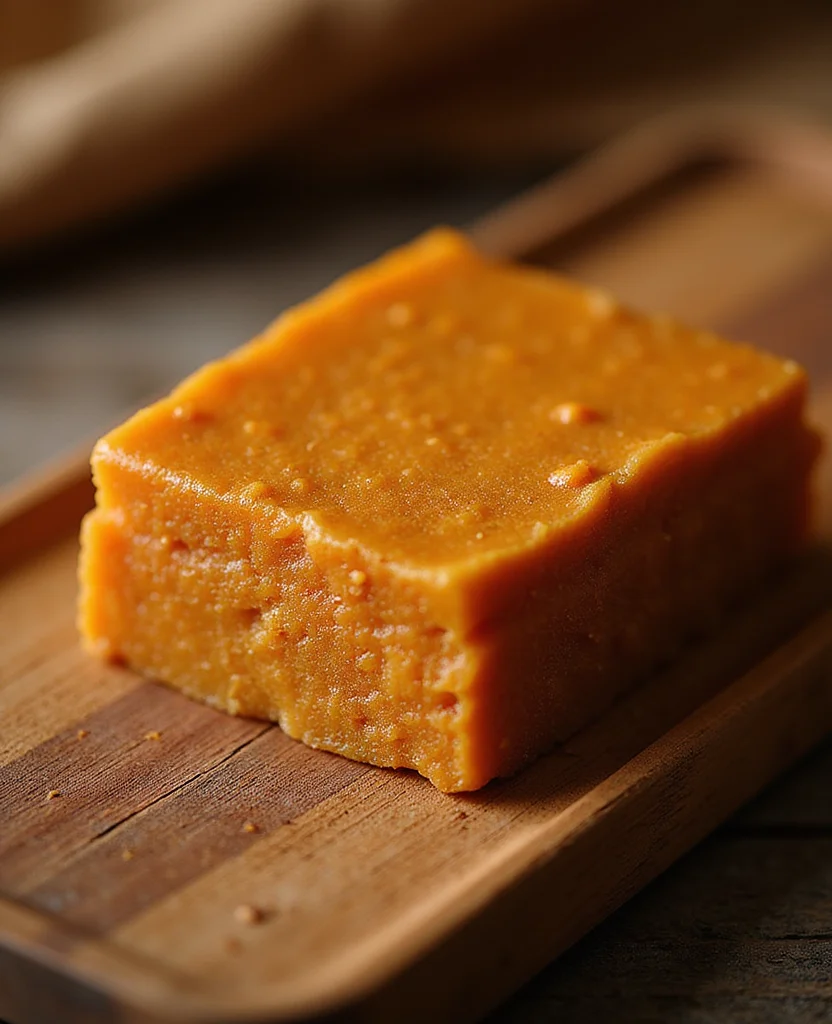
The enticing aroma of Japanese Curry Roux is a comforting invitation to indulge in a dish that blends tradition with innovation.
Its rich and savory flavor profile, highlighted by a hint of sweetness, makes it a perfect choice for any meal occasion.
I first encountered this delightful recipe during a culinary tour of Japan, where it was lovingly crafted by local chefs.
Whether you’re a seasoned cook or a novice, this recipe for homemade curry roux promises impressive results with straightforward preparation.
Dive into this culinary journey and create a dish that will warm your heart and tantalize your taste buds.
The History and Cultural Significance
• Japanese Curry Roux traces its origins to the Meiji era, where it was originally created by adapting Indian curry influences to suit Japanese tastes.
• The dish evolved over decades as local ingredients and cooking techniques were incorporated, eventually becoming the beloved version we know today.
• In Japan, this dish traditionally appears at family gatherings and special occasions, symbolizing comfort and togetherness.
• While many variations exist across different regions, the authentic version maintains a subtle sweetness and creamy texture that sets it apart from imitations.


Recipe Overview
Nutritional Information (per serving)
Essential Equipment Guide
Saucepan: A heavy-bottomed saucepan is crucial for even heat distribution, preventing the roux from scorching. Alternatives like cast iron can work, but look for non-stick surfaces for easier cleaning.
Whisk: A whisk is essential for achieving a smooth consistency in the roux. While a fork can work in a pinch, a balloon whisk is ideal for incorporating air and preventing lumps.
Wooden Spoon: A wooden spoon is perfect for stirring the roux without scratching the pan. Silicone spatulas can also be used for their heat resistance and flexibility.
Ingredients
For the Base
|
| Amount | Ingredient | Notes |
|---|---|---|
| 2 tablespoons | butter | adds richness |
| 2 tablespoons | all-purpose flour | thickens the curry |
Seasonings
| Amount | Ingredient | Notes |
|---|---|---|
| 1 tablespoon | curry powder | provides authentic flavor |
| 1 teaspoon | garam masala | adds warmth and depth |
Vegetables
| Amount | Ingredient | Notes |
|---|---|---|
| 1 medium | onion | finely chopped for sweetness |
| 2 cloves | garlic | minced for aroma |
| 1 inch | ginger | grated for a spicy kick |
Liquids
| Amount | Ingredient | Notes |
|---|---|---|
| 2 cups | chicken broth | base for the sauce |
| 1 cup | coconut milk | adds creaminess and subtle sweetness |


Preparation Methods
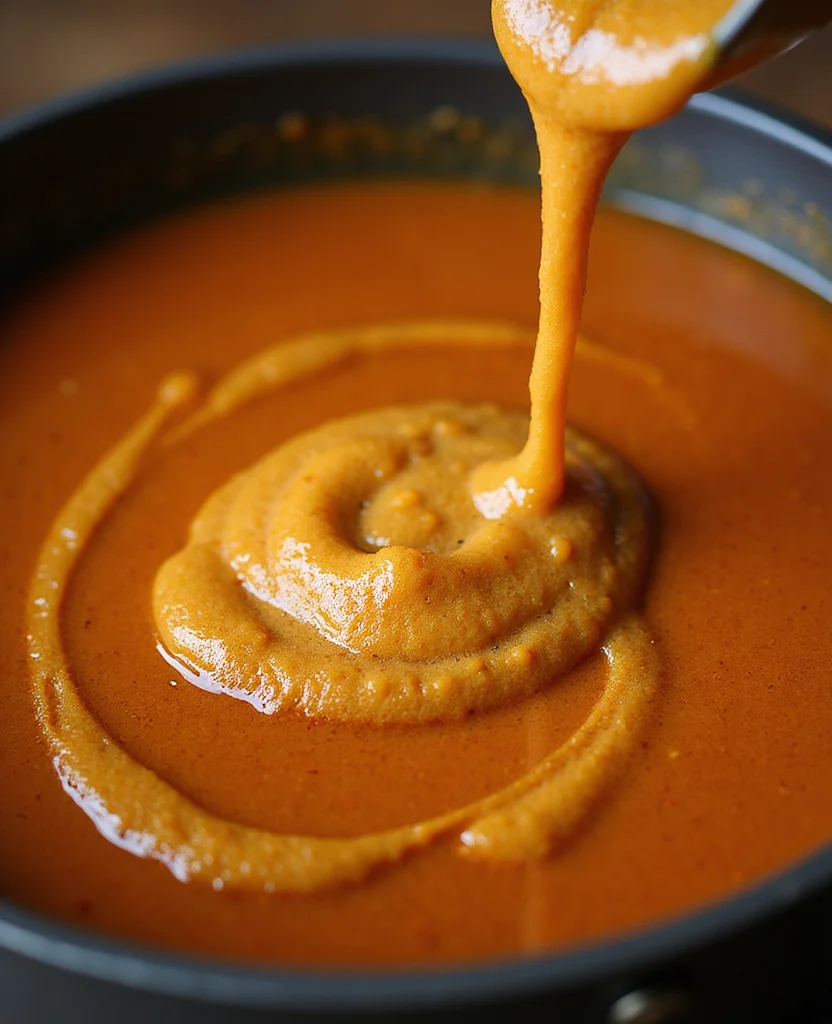
Roux Making: Creating a roux involves cooking flour and fat together until they form a smooth paste. This technique is vital for thickening the curry and achieving the right texture. Start with low heat and stir continuously to avoid burning.
Flavor Infusion: Gently frying spices and aromatic vegetables allows their flavors to release and blend, creating a complex base for the curry. Patience is key; let the ingredients sizzle until fragrant for the best results.
Simmering: Allowing the curry to simmer slowly ensures the flavors meld perfectly. This technique helps deepen the taste and tenderize any meat or vegetables added to the curry.


Step 1: Prepare Ingredients
Gather all your ingredients before starting.
Chop the onion finely and mince the garlic and ginger.
Measure out the butter, flour, and spices.
Ensure you have the broth and coconut milk ready.


Step 2: Make the Roux

Melt the butter in a saucepan over medium heat.
Add the flour and stir continuously with a whisk to form a smooth paste.
Cook the roux until it turns a light golden color, about 5 minutes.
This step is crucial for thickening the curry later.
Step 3: Add Aromatics
Add the chopped onion to the roux and stir until translucent.
Mix in the minced garlic and grated ginger, stirring until fragrant.
This process takes about 2-3 minutes and enhances the curry's base flavor.
Ensure the aromatics do not brown too much to maintain a balanced taste.
Step 4: Incorporate Spices
Sprinkle the curry powder and garam masala over the onion mixture.
Stir well to coat the onions and release the spices' flavors.
Cook for an additional minute until the spices are well integrated.
This step builds the base flavor profile of the curry.
Step 5: Add Liquids
Gradually pour in the chicken broth while stirring to prevent lumps.
Bring the mixture to a gentle simmer over medium heat.
Stir in the coconut milk and mix well until incorporated.
Ensure the sauce is smooth and consistent before moving to the next step.
Step 6: Simmer the Curry
Reduce the heat to low and let the curry simmer for 20 minutes.
Stir occasionally to prevent sticking and ensure even cooking.
The curry will thicken and develop deeper flavors during this time.
The sauce should have a rich, creamy consistency by the end of this step.
Step 7: Adjust Seasoning
Taste the curry and adjust salt and pepper to your liking.
Consider adding a pinch of sugar for balance if needed.
Stir well to distribute the seasoning evenly throughout the sauce.
This ensures the final flavor is harmonious and well-rounded.
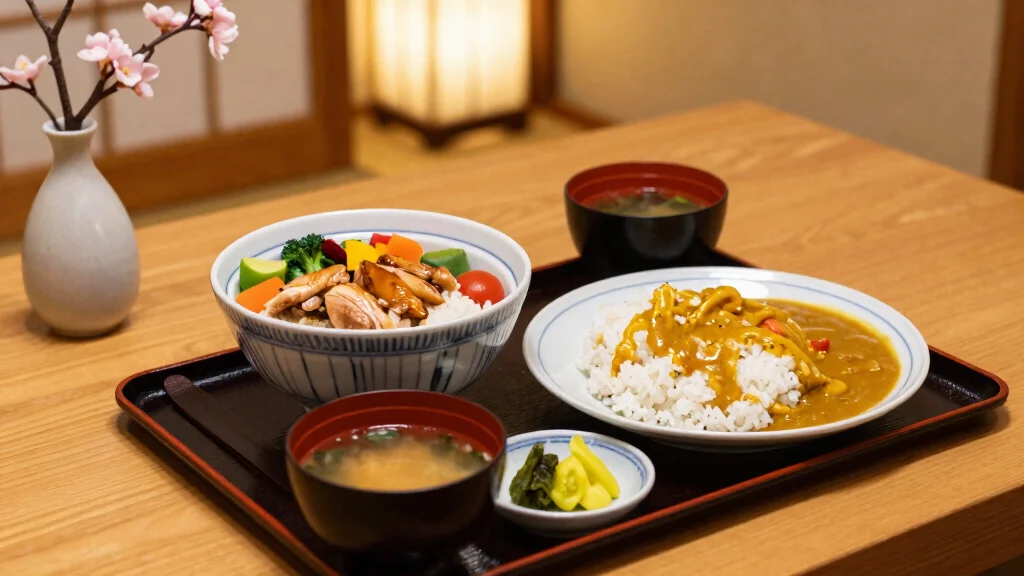
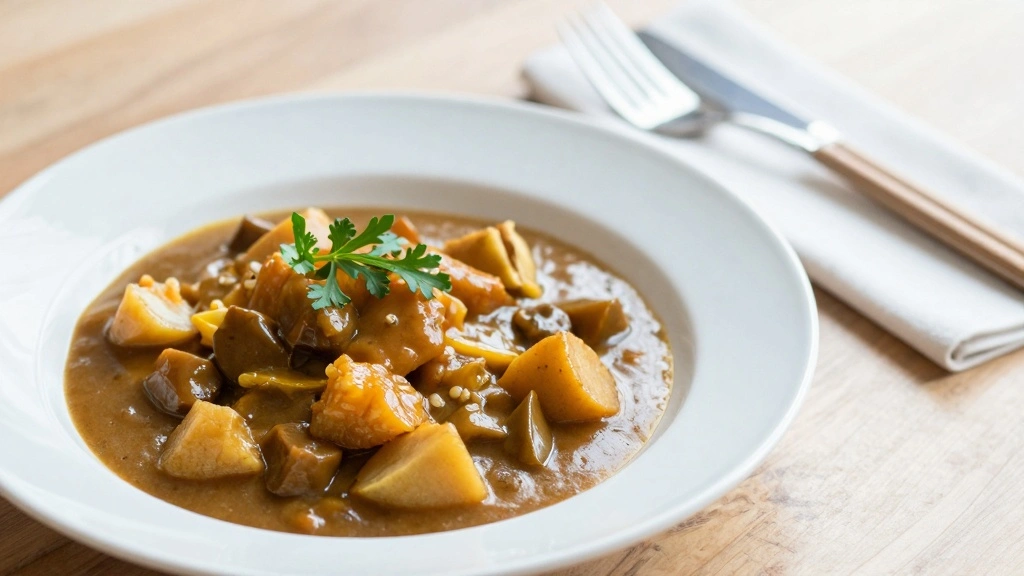
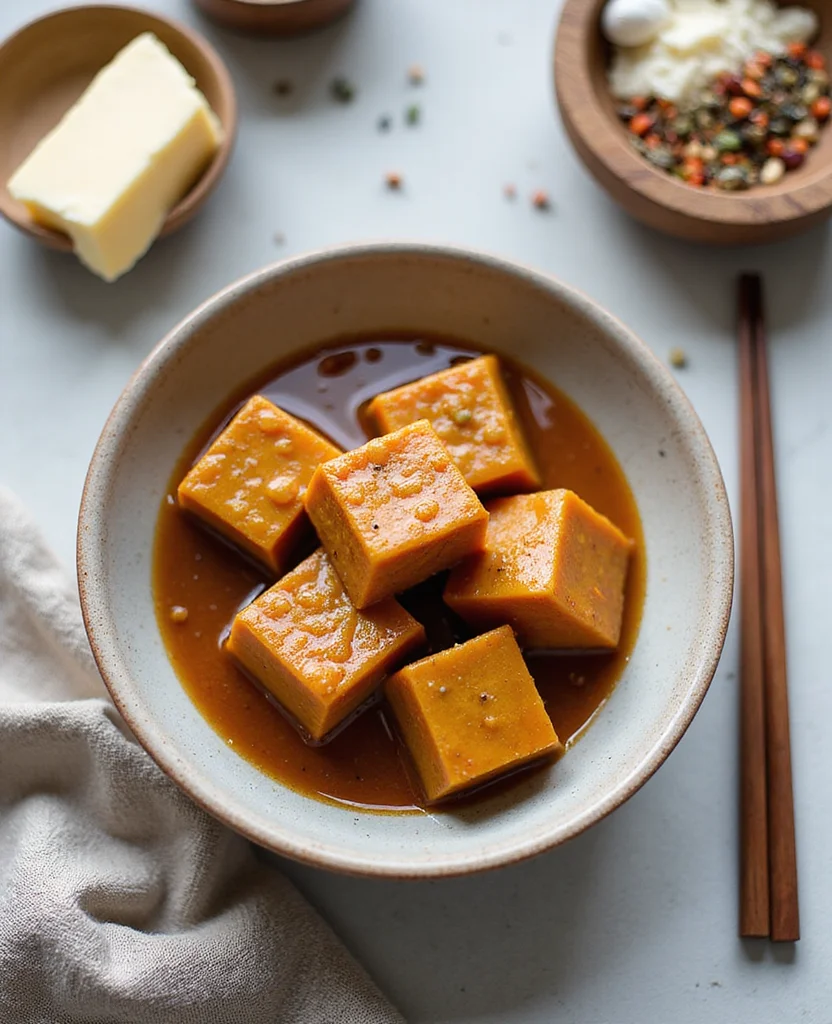
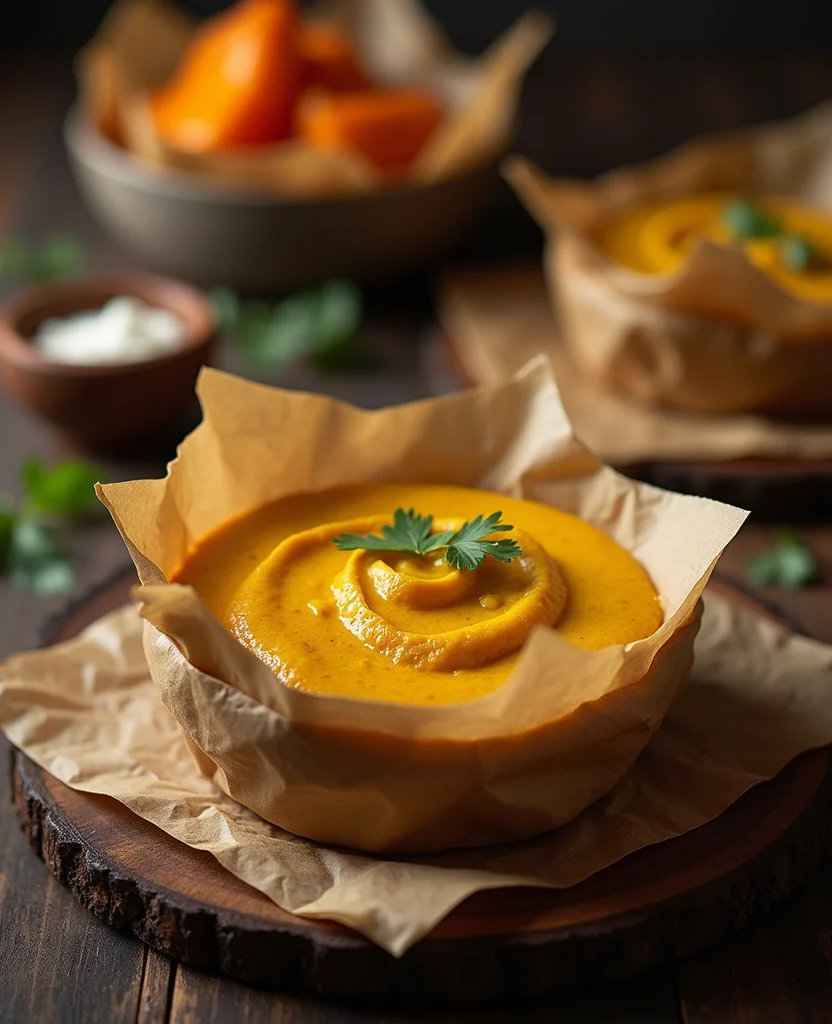
Step 8: Serve and Garnish
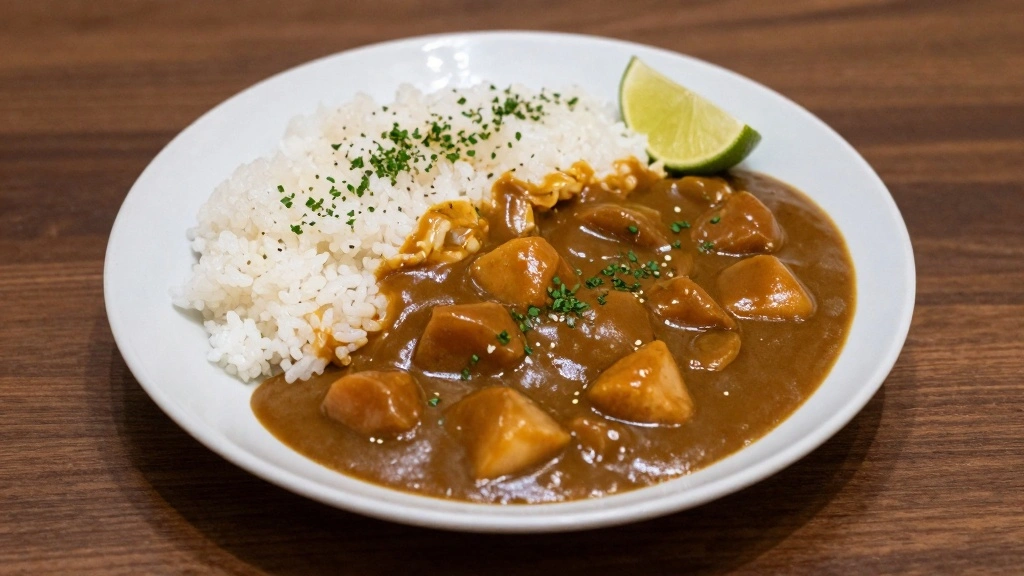
Serve the curry hot over steamed rice or with bread.
Garnish with fresh cilantro or parsley for a burst of color.
Optionally, add a squeeze of lime for an extra zing.
Present the dish attractively for an inviting meal.
Critical Timing and Temperature Guide
Roux Cooking: Cook the roux over medium heat for exactly 5 minutes until golden. Avoid high heat which can burn the flour and ruin the taste.
Simmering: The curry should simmer on low for 20 minutes, with occasional stirring to prevent sticking. The sauce should thicken and coat the back of a spoon.
Final Cooking: Ensure the curry reaches a gentle boil before serving to meld flavors. Overcooking can lead to separation of the sauce.
Pro Tips for Japanese Curry Roux
• Ingredient Selection: Use high-quality curry powder and fresh aromatics to ensure the best flavor.
• Preparation Secret: Toast the spices briefly before adding liquids to enhance their aroma and depth.
• Temperature Management: Maintain a medium-low heat to allow flavors to develop without burning.
• Texture Enhancement: Stir the roux continuously to achieve a smooth, lump-free consistency.
• Flavor Layering: Add a splash of soy sauce or Worcestershire sauce for added umami.
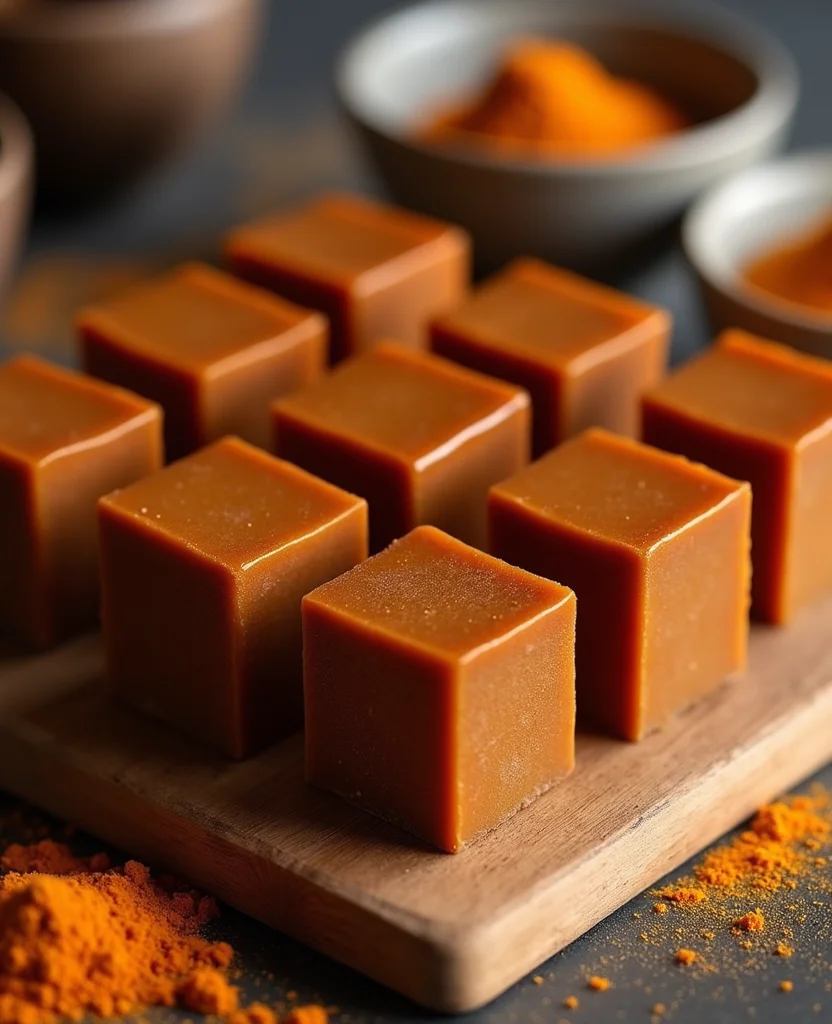
• Make-Ahead Strategies: Prepare the roux in advance and refrigerate; it will keep for up to two days.
• Restaurant-Quality Finishing Touches: Drizzle a touch of sesame oil before serving for a glossy finish.
• Equipment Optimization: Use a non-stick pan for easier cleanup and to prevent sticking.
Troubleshooting Common Issues
• Texture Too Thick: This may happen if too much flour was used. Add more broth gradually to thin the sauce.
• Flavors Unbalanced: If the curry tastes too spicy or bitter, add a small amount of sugar or coconut milk.
• Roux Lumps: Lumps can form if the liquid is added too quickly. Whisk vigorously or use an immersion blender to smooth out.
• Burnt Taste: This can occur if the roux is overcooked. Be sure to use medium heat and stir constantly.
• Separated Sauce: Prevent separation by maintaining a consistent simmer and avoiding excessive stirring.
Variations and Regional Differences
• Osaka Style: This version includes additional vegetables like carrots and potatoes for a heartier dish.
• Kyushu Style: Often features a spicier profile with added chili powder, reflecting the region's love for bold flavors.
• Tokyo Style: Known for its smoother, milder curry, often incorporating apple or honey for sweetness.
• Sapporo Style: Features a soupier curry served with a variety of toppings like seafood or tempura.


Food Science Behind the Recipe
• Emulsification: The combination of roux and liquid creates an emulsion, which thickens the sauce and gives it a creamy texture.
• Maillard Reaction: The browning of the roux and onions develops complex flavors through the Maillard reaction.
• Flavor Compound Release: Heating spices releases essential oils, intensifying flavor and aroma in the final dish.
Frequently Asked Questions
What's the most common mistake people make when preparing Japanese Curry Roux? Overcooking the roux, which leads to a burnt taste.
Can I use a different type of milk instead of coconut milk? Yes, dairy milk or almond milk can be used, but they will alter the flavor and texture.
How can I make the curry spicier? Add chili flakes or more garam masala to increase the heat level.
Is it possible to make this recipe vegetarian? Substitute chicken broth with vegetable broth and ensure all ingredients are plant-based.
How do I store leftovers? Store in an airtight container in the refrigerator for up to three days.
Can I freeze the curry? Yes, freeze in portions for up to three months, thawing in the refrigerator before reheating.
What can I serve with Japanese Curry Roux besides rice? Naan, udon noodles, or a side of steamed vegetables make great accompaniments.
Serving and Presentation Guide
• Traditional Presentation: Serve curry over a mound of steamed rice, garnished with pickled ginger.
• Modern Twist: Present in shallow bowls with a poached egg on top for added richness.
• Family Style: Offer in a large serving dish with small bowls of various toppings like scallions, sesame seeds, and chili oil.
• Individual Portions: Use small, neat portions of rice molded with a cup for an elegant touch.


Conclusion
Now that you have all the steps and tips, it's time to bring the flavors of Japan into your kitchen.
This homemade Japanese Curry Roux is not only delicious but also a rewarding cooking experience.
Share this comforting dish with family and friends, and enjoy the warmth and satisfaction it brings.